
Owning a telescope and actually knowing how to use it well are two completely different things. Plenty of people buy a scope, point it at the sky the same night, get a blurry smudge instead of the crisp view they were expecting, and quietly give up. The good news is, almost every one of those disappointing first nights comes down to a handful of fixable habits, not a bad telescope. Here’s how to actually get the views you were promised on the box.
Let Your Telescope Breathe First
This is the single most overlooked step in the entire hobby. A telescope stored in a warm house or car needs time to cool down and match the temperature of the outside air, a process astronomers call reaching thermal equilibrium. Until that happens, warm air trapped inside the tube creates tiny currents that blur and distort everything you’re looking at, no matter how good the optics are.
The fix costs nothing, just set your telescope up outside 20 to 45 minutes before you actually plan to observe, and let it sit while you handle everything else, laying out eyepieces, checking star charts, getting your own eyes adjusted. Larger telescopes and colder nights need more time; a small refractor might only need 15 minutes, while a large reflector on a frigid winter night could need closer to an hour.
Master Dark Adaptation, Then Protect It
Your eyes get dramatically more sensitive to faint light the longer you stay in darkness, but it takes real time, typically 20 to 30 minutes to substantially adapt, and up to 45 minutes for full sensitivity. The problem is, this hard won adaptation vanishes almost instantly the moment you glance at a bright white light, a phone screen, a car’s headlights, even a friend’s poorly timed flashlight beam.
The fix here is just as simple, use a dim red flashlight for absolutely everything once you start observing, checking star charts, adjusting your telescope, finding a dropped eyepiece in the grass. Red light doesn’t reset your adapted night vision the way white light does, since the rod cells responsible for low light vision are far less sensitive to red wavelengths. If you’re using a phone app for star charts, switch on its night mode or red filter setting before you even walk outside.
Learn to Use Averted Vision
Once your eyes are properly dark adapted, there’s a genuinely useful trick worth practicing, averted vision. Instead of staring directly at a faint object, look slightly off to the side of it. The part of your eye most sensitive to dim light sits away from your direct line of sight, so this small shift can make the difference between missing a faint galaxy entirely and actually picking out real detail. It feels counterintuitive at first, but it becomes second nature with a little practice. Our guide on spotting colorful stars covers this same technique in more depth if you want to put it to work on faint, subtly tinted stars.
Work From Low Power to High Power
A common beginner mistake is jumping straight to your highest magnification eyepiece, hoping for the biggest, most impressive view right away. In practice, this almost always backfires, higher magnification narrows your field of view dramatically and makes objects noticeably dimmer, which makes them much harder to actually locate in the first place.
Instead, always start with your lowest power, widest field eyepiece to find and center your target, then gradually swap in higher power eyepieces once you’ve got it locked in the field of view. A good basic eyepiece kit covers three rough ranges, a low power wide field eyepiece for finding objects and scanning large areas, a medium power eyepiece for most deep sky targets, and a high power eyepiece reserved specifically for the Moon, planets, and tight double stars. If you’re not sure what magnification range actually makes sense for your specific telescope, our telescope magnification calculator can help you figure out realistic numbers before you go shopping for eyepieces.
Check Your Collimation
If you own a reflector telescope, meaning one that uses mirrors rather than lenses, collimation, the precise alignment of those internal mirrors, matters enormously. Even a slightly misaligned mirror noticeably degrades contrast and sharpness, often more than any other single factor. The good news is that checking collimation takes only a couple of minutes with a basic collimation cap or laser collimator, and its worth doing as a routine habit before any serious observing session, especially if your telescope has recently been transported or bumped around.
Pick Your Location Deliberately
Where you set up matters just as much as your equipment. Light pollution washes out faint objects long before it affects bright ones like the Moon or planets, so if you’re chasing galaxies, nebulae, or the Milky Way itself, getting away from streetlights and city glow makes a dramatic difference. Astronomers rate sky darkness using something called the Bortle scale, running from Class 1, a truly pristine dark sky, up to Class 9, deep inner city skies where only the brightest handful of stars are visible at all. You don’t necessarily need a Class 1 site to have a great night, but knowing roughly where your usual spot falls helps set realistic expectations for what you’ll actually be able to see.
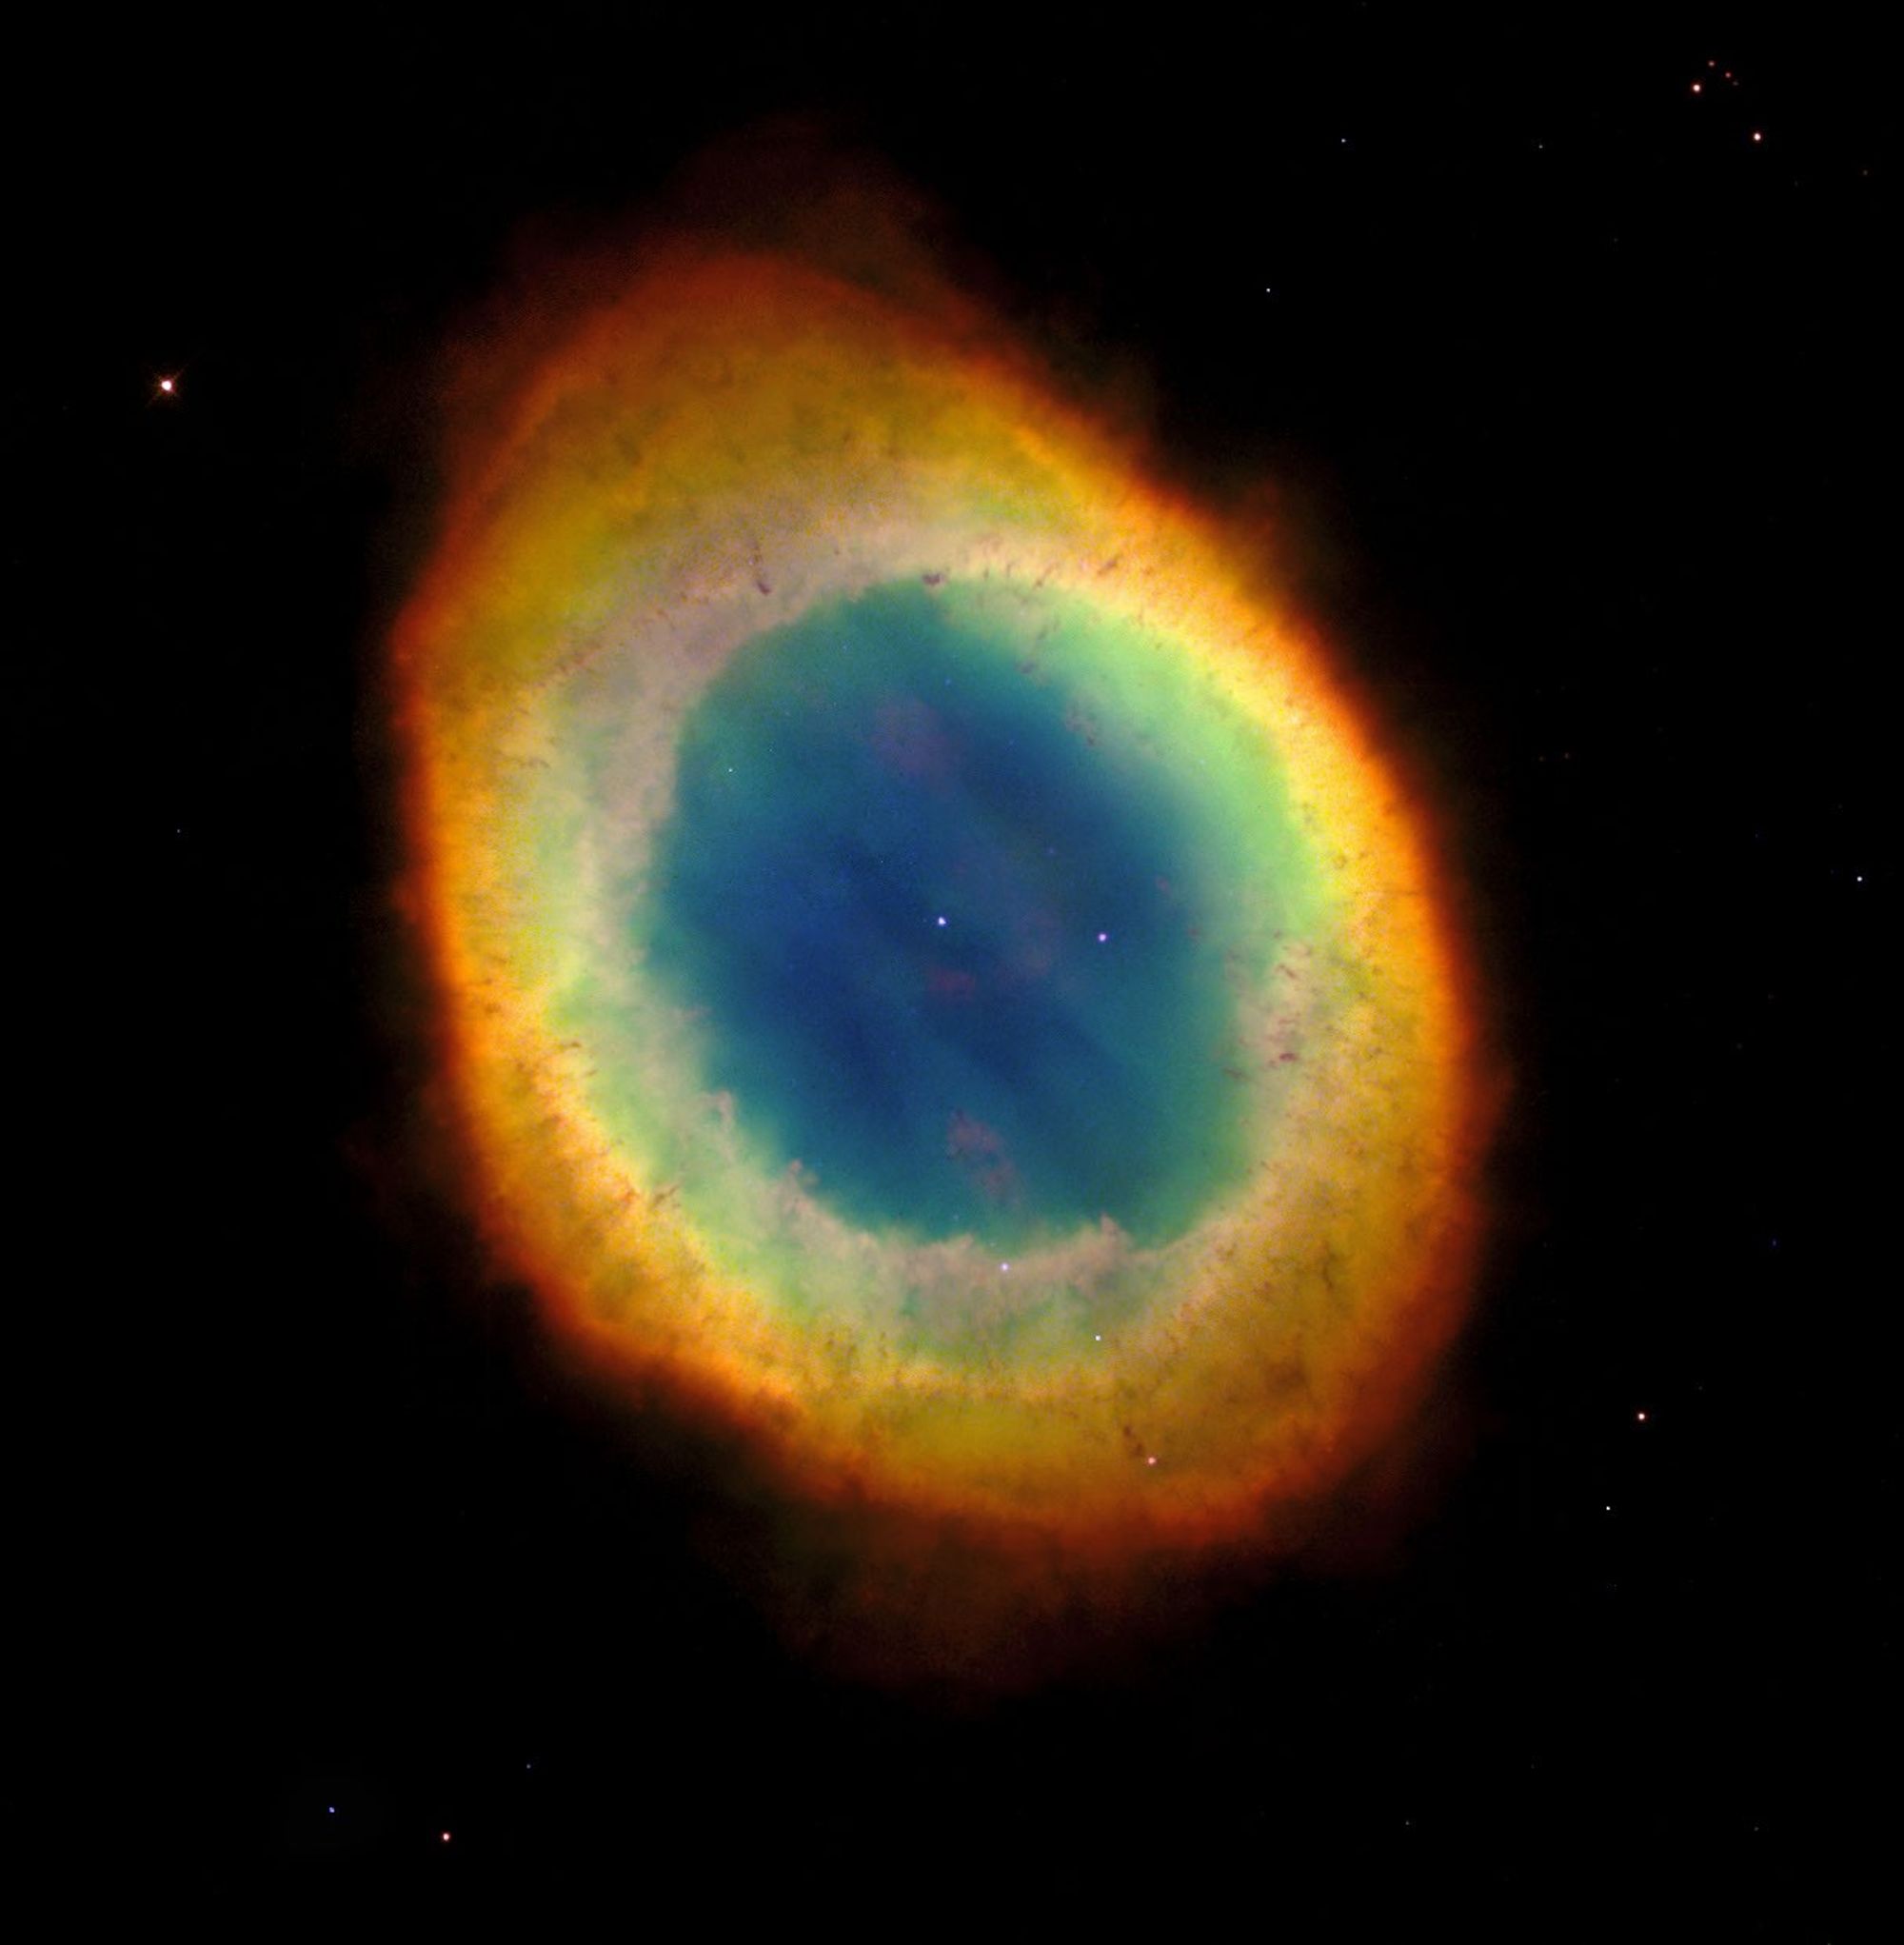 The Ring Nebula (M57) as seen by Hubble. Under a reasonably dark sky, this exact target is visible as a small glowing ring through a modest backyard telescope, a great example of what patience and a decent observing site can reward you with. (Image: NASA, ESA, and the Hubble Heritage Team, STScI/AURA)
Star Hop Instead of Relying Purely on Tech
Even with computerized, self aligning mounts becoming more common, learning to star hop, navigating from a bright, easily identified star to a fainter target using a finderscope and a star chart, remains one of the most valuable skills in the hobby. It builds a genuine mental map of the sky instead of just following a screen, and it still works perfectly when batteries die or software glitches. A basic 6×30 finderscope or larger makes star hopping considerably easier than trying to manage with just a red dot finder, since it actually shows you more of the surrounding star field to navigate by.
Keep a Simple Observing Log
Its easy to underestimate how much a basic observing log improves the hobby over time. Jotting down what you observed, the date, sky conditions, which eyepiece you used, and a quick note on how the object actually looked, builds a genuinely useful record you can look back on. It also makes improvement obvious in a way memory alone never does, flipping back a few months later and seeing how much more detail you’re now picking out from the same objects is one of the more satisfying parts of sticking with this hobby long term.
Expect Multiple Sessions, Not Instant Results
Perhaps the most important mental shift for any new observer, a single night rarely tells the whole story. Atmospheric conditions, called “seeing” by astronomers, change from night to night and even hour to hour, and some nights genuinely are better than others regardless of what you do right. Faint deep sky objects in particular often take several attempts, under different conditions, before they really start to show real detail. Treat each session as practice rather than a final exam, and the improvement tends to come faster than you’d expect.
Small Habits, Real Payoff
None of these tips require expensive upgrades, they’re almost entirely about technique and patience. Letting your telescope cool down, protecting your dark adaptation, working from low to high power, and simply giving yourself more than one night to chase a target will do more for your observing experience than swapping in a fancier eyepiece ever could. The sky rewards patience more than it rewards gear, and once these habits become second nature, you’ll start noticing real detail in objects that looked like nothing more than faint smudges just a few sessions earlier.
For more detailed observing guides and monthly target lists, check out the resources from NASA’s Skywatching hub and the practical tips from the British Astronomical Association.
If you enjoyed this article, don’t forget to drop us a comment, it really helps support the site, and be sure to check out our other articles because we think you’re going to love them too.